How to add liquidity for OG Runes on ODIN•FUN

Bitcoin Memecoins on ODIN
Add Liquidity for OG Runes on ODIN.FUN
ODIN.FUN uses a system similar to Uniswap V2, which means you need to add the same dollar amount of BTC and the token when providing liquidity. This tutorial will show you step-by-step how to deposit your OG Runes, deposit BTC, and then add liquidity for an OG Runes token.
Step 1: Visit the ODIN.FUN
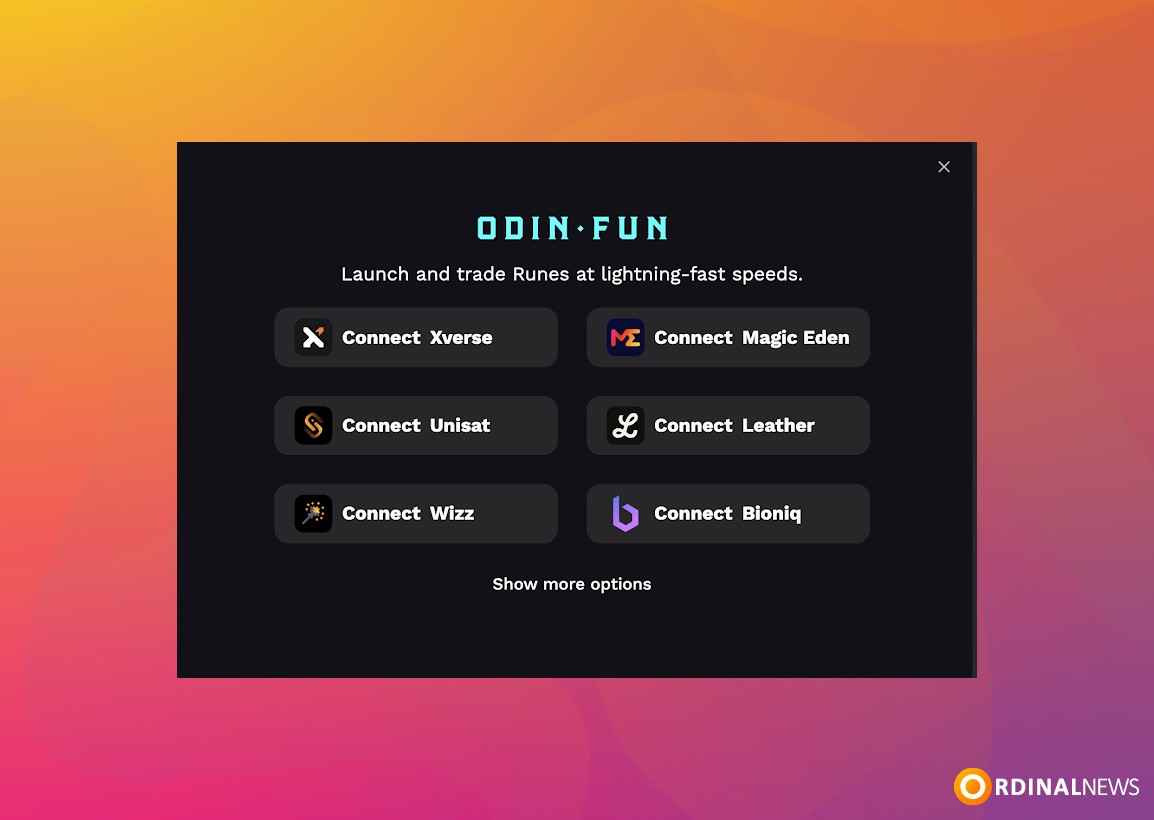
Step 2: Connect your preferred Bitcoin wallet to ODIN.FUN.
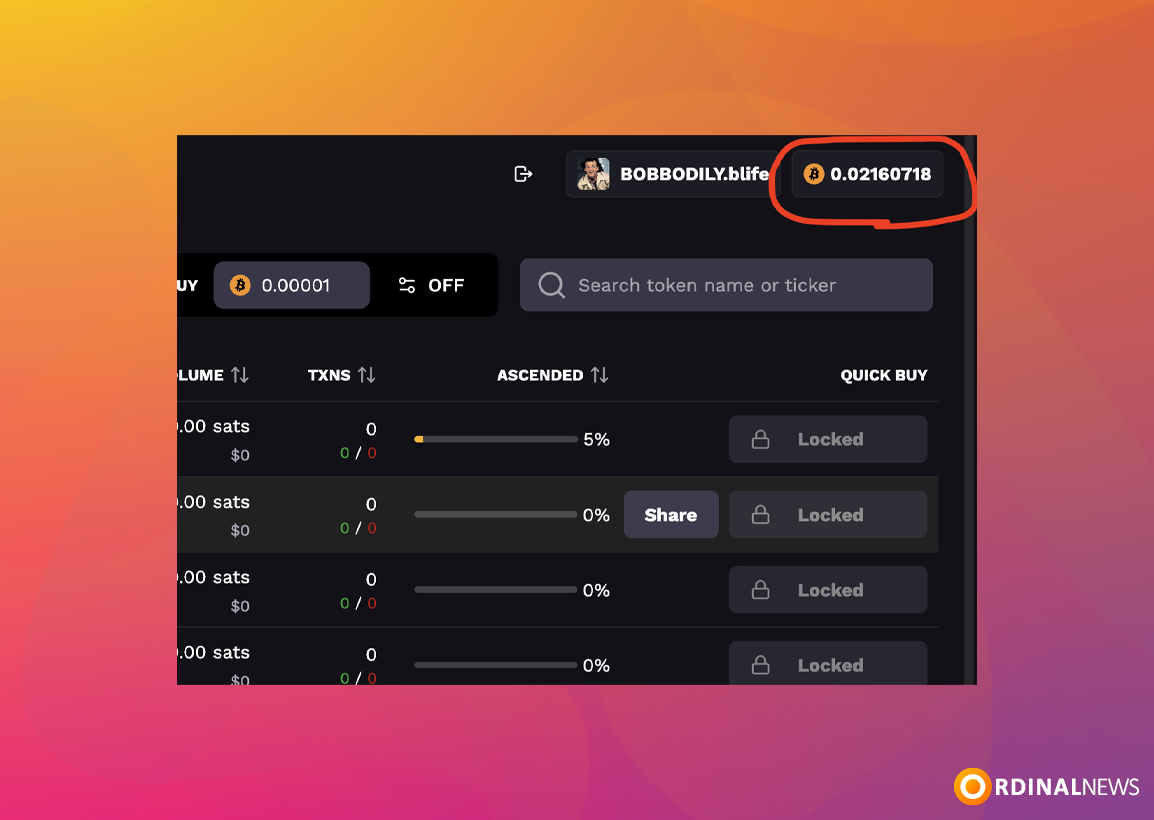
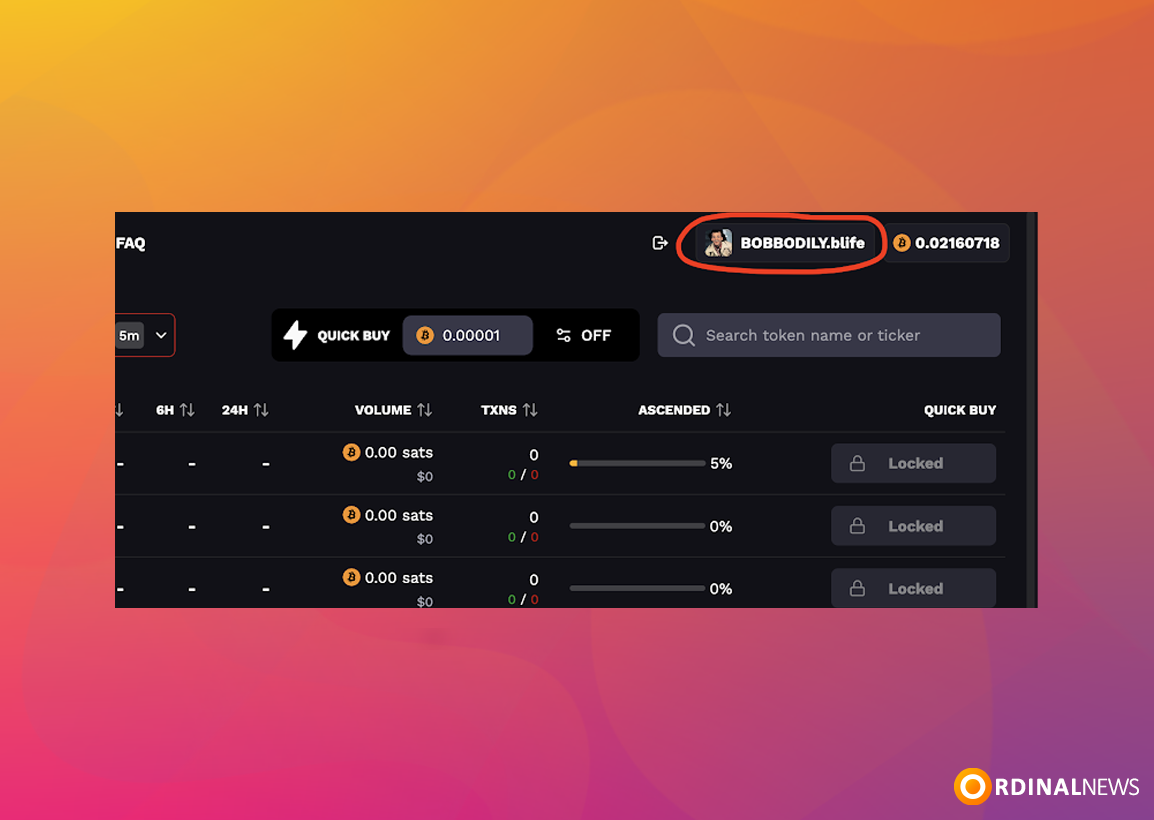
Step 3: To deposit OG Runes on ODIN.FUN, start by clicking your Bitcoin balance located in the top right corner.
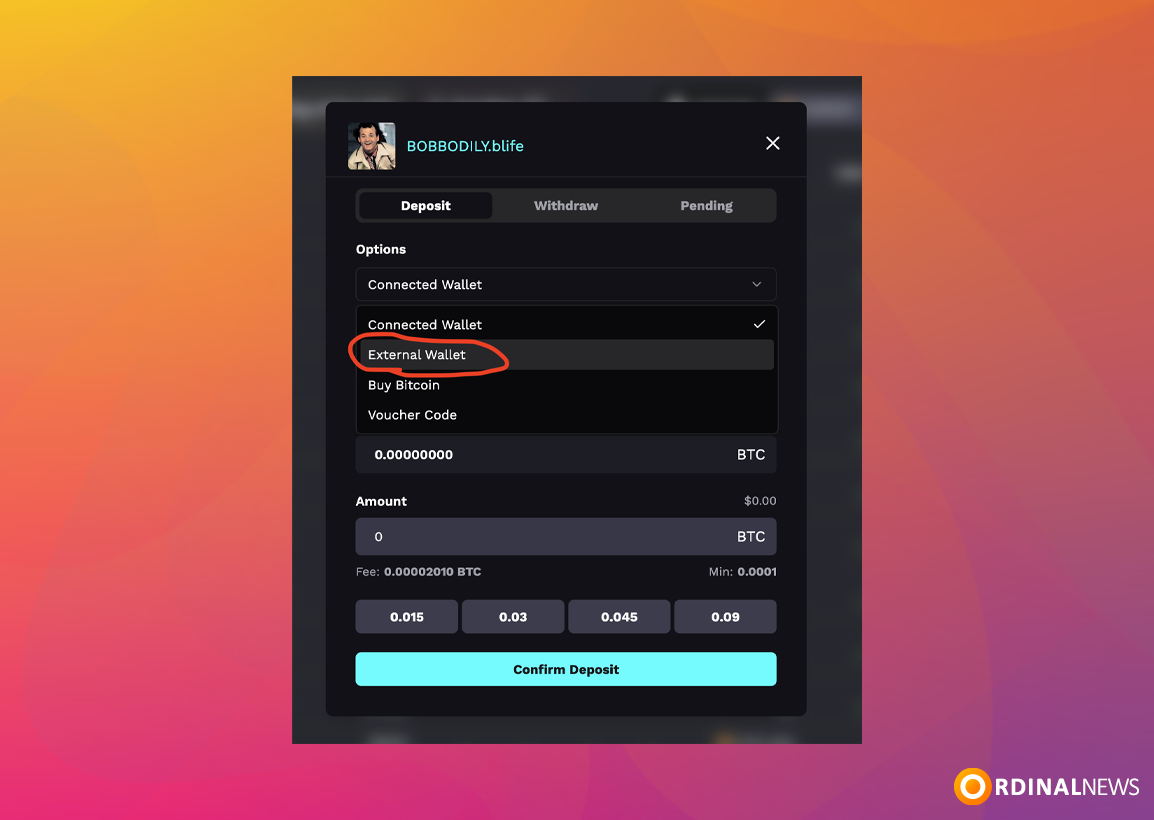
Step 4: Choose ‘Deposit’ and then select ‘External Wallet’ from the options.
If you’re depositing Runes, follow the steps below to search for the token and send it to the provided address. However, if you’re depositing Bitcoin, there’s no need to change anything — simply enter the amount of BTC you want to deposit in the ‘Amount’ field and proceed.
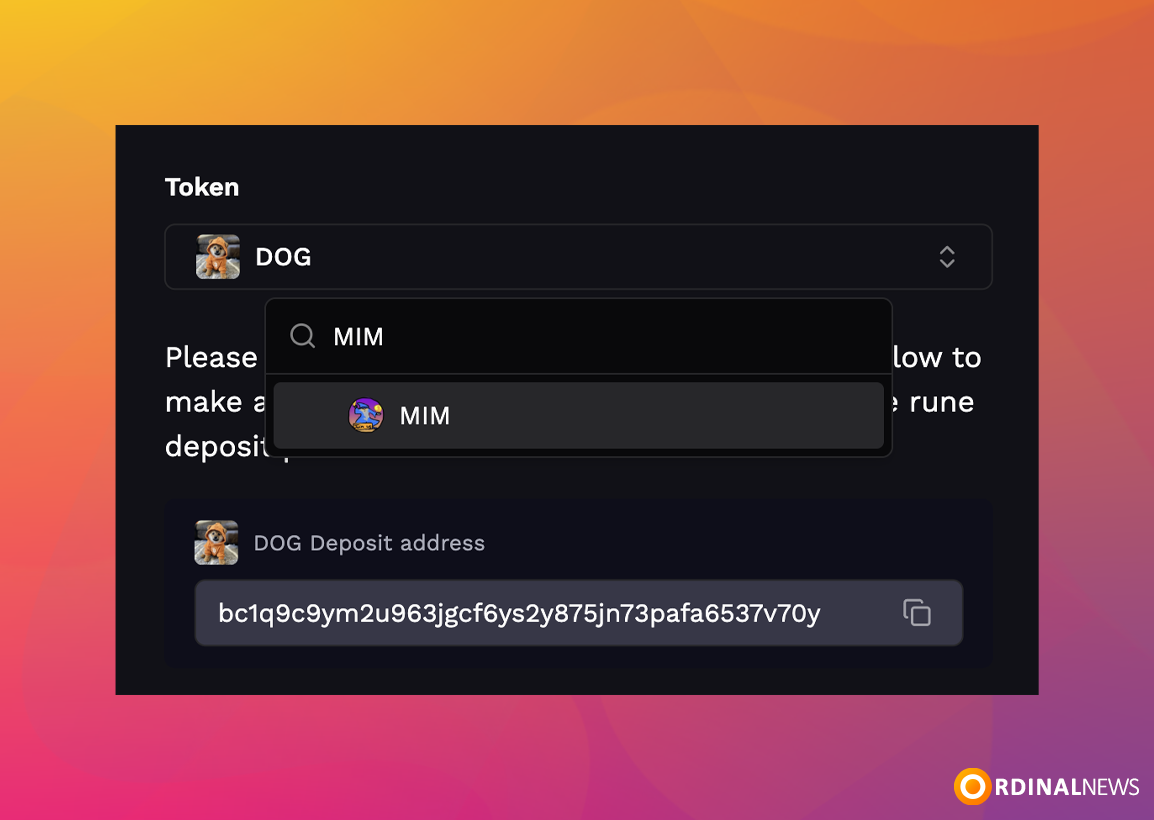
Step 5: In the search bar, type the name of the OG Rune you want to deposit.

Step 6: If the OG Rune doesn’t appear in the list, it means it hasn’t been added yet. Please wait until the token is supported before making a deposit.
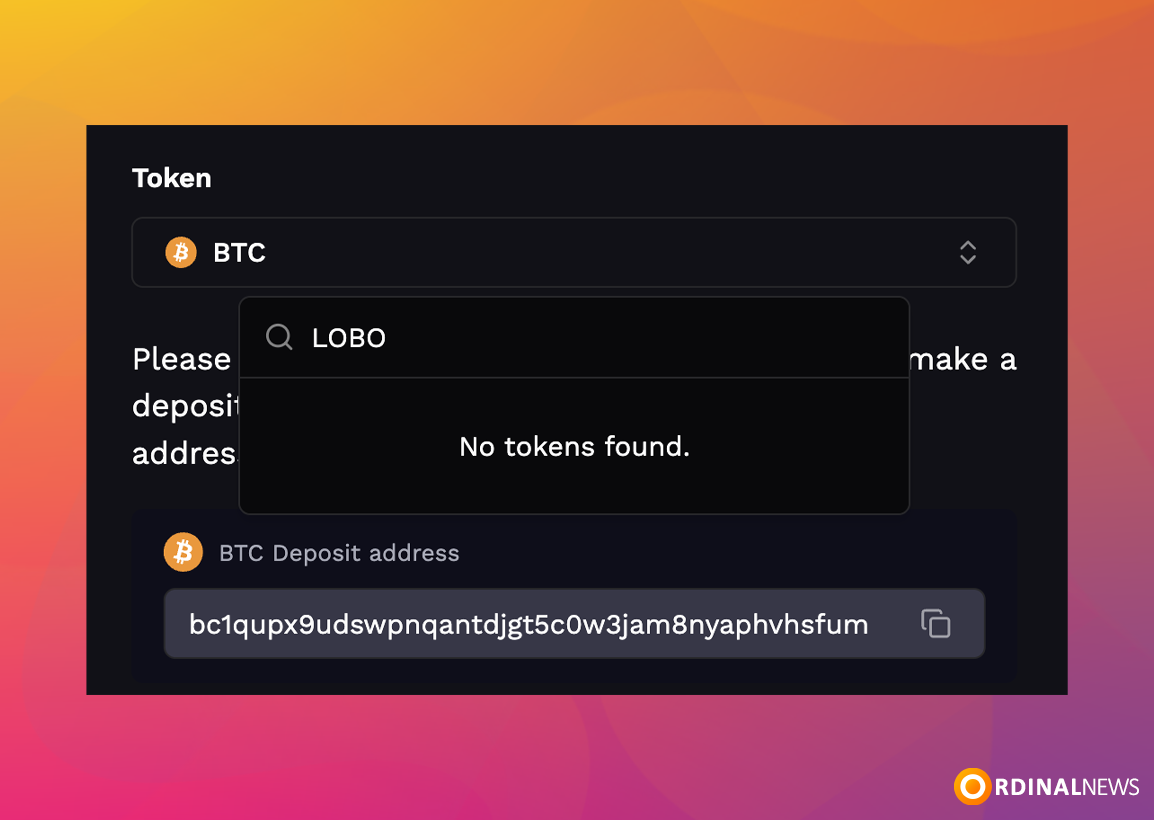
Step 7: If the OG Rune does appear, copy the deposit address and send your OG Runes from your Bitcoin wallet to that address.
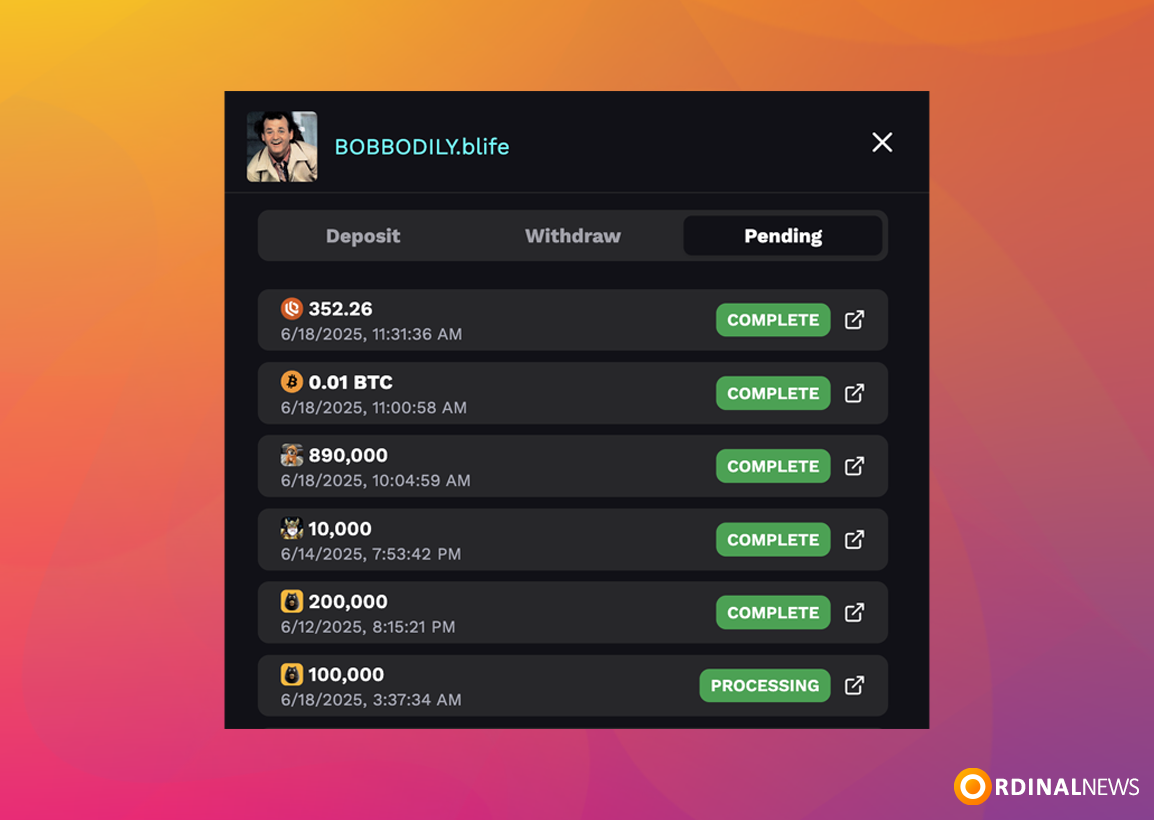
Step 8: After a minute or so, go to the ‘Pending’ tab to check your deposit status. It will show as ‘Pending’ while it’s in the mempool, ‘Processing’ after 1 confirmation, and ‘Complete’ once the deposit is finalized and credited to your ODIN.FUN account.
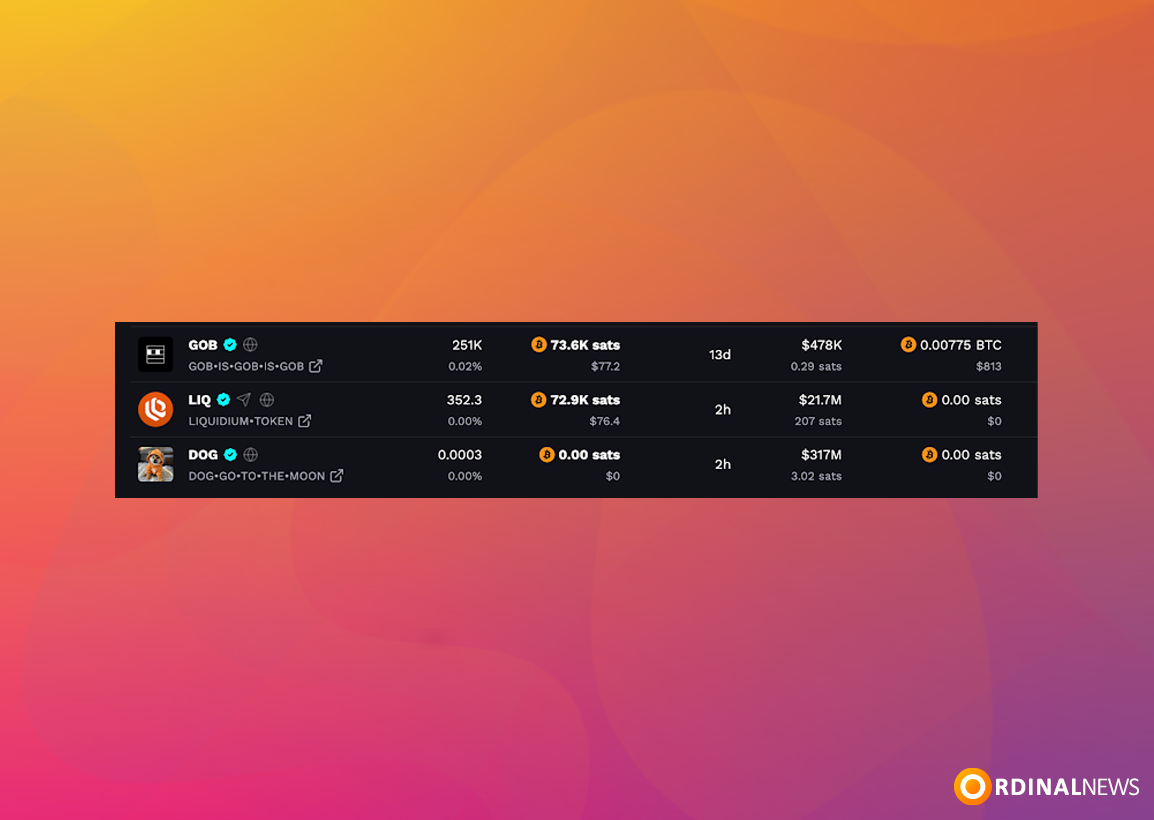
Step 9: Go to your profile to see the tokens you currently hold.
Step 10: Click on the token you want to provide liquidity for.
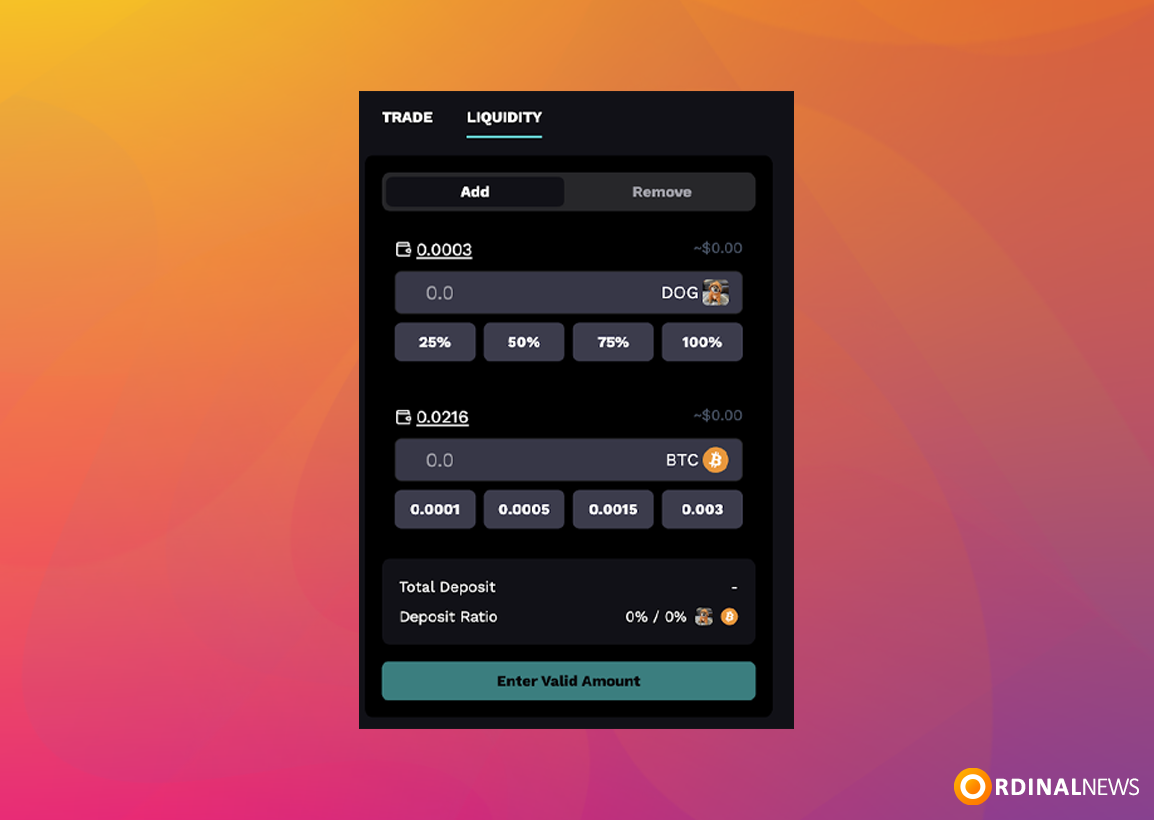
Step 11: Click on the ‘Liquidity’ tab to continue.

Step 12: Enter the amount of tokens or BTC you want to add as liquidity. The other field will automatically fill in to match the required equal dollar value on both sides.
Note (from the ODIN.FUN platform): sometimes adding 100% of liquidity will fail. We’re debugging, but if that happens, just do slightly less than 100% and that should work just fine.
Step 13: That’s it! You should now be listed as a Liquidity Provider under the Liquidity tab, and you’ll begin earning 0.3% of every trade involving this token on their AMM.
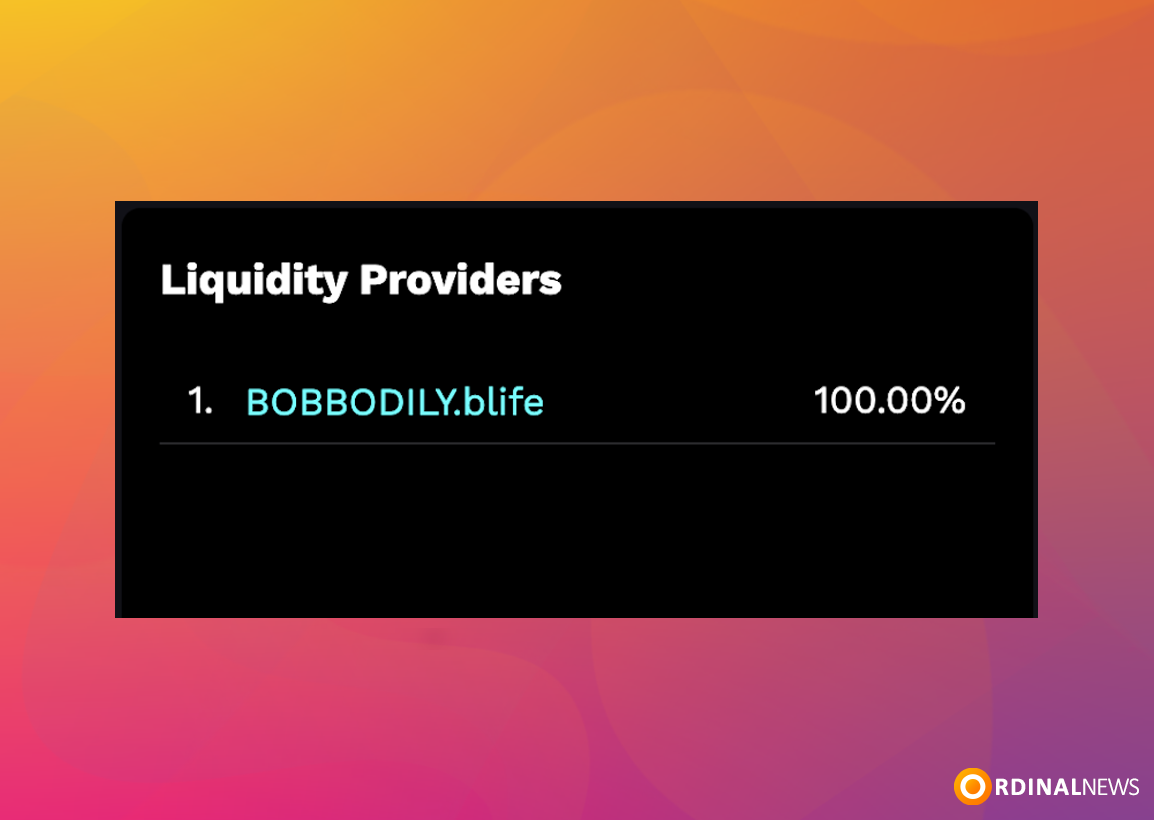
You’ve successfully added liquidity! Your position is now active and earning fees on the ODIN.FUN platform. You can monitor and manage your liquidity anytime from the Liquidity tab.