How to Etch Runes on Xverse
Etch Runes with Xverse
Etching initiates the token creation process by specifying attributes such as the token’s name, divisibility, symbol, and other immutable properties. This step marks the beginning of creating a rune.
In this tutorial, you will learn how to etch runes tokens so you can start participating in Bitcoin’s new token economy.
Etch Runes
Step 1: Visit the Xverse and select the “Explorer” tab in the navigation bar.
Step 2: Click on “Runes” in the nav bar on the left side of the page and then click “Connect Wallet”.
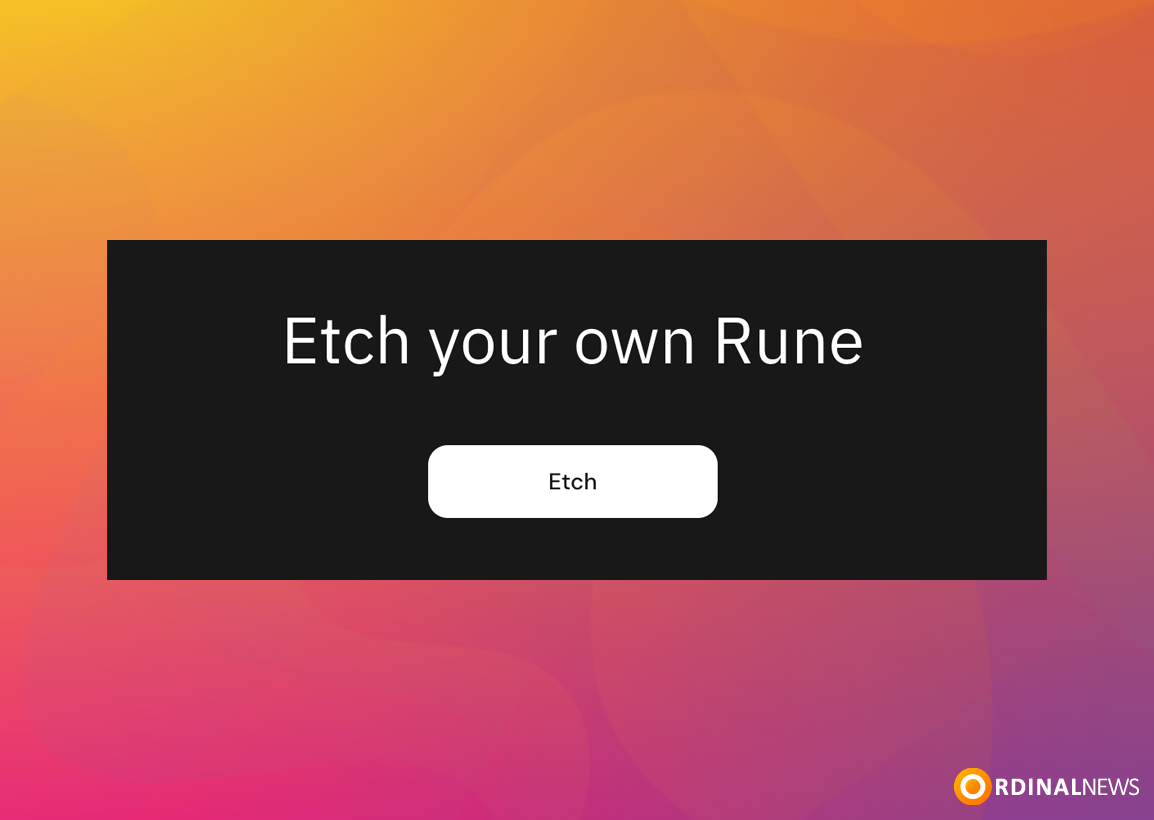
Step 3: At the bottom of the page, you will see the text “Etch your own Rune” and you need to click on the button labeled “Etch”.
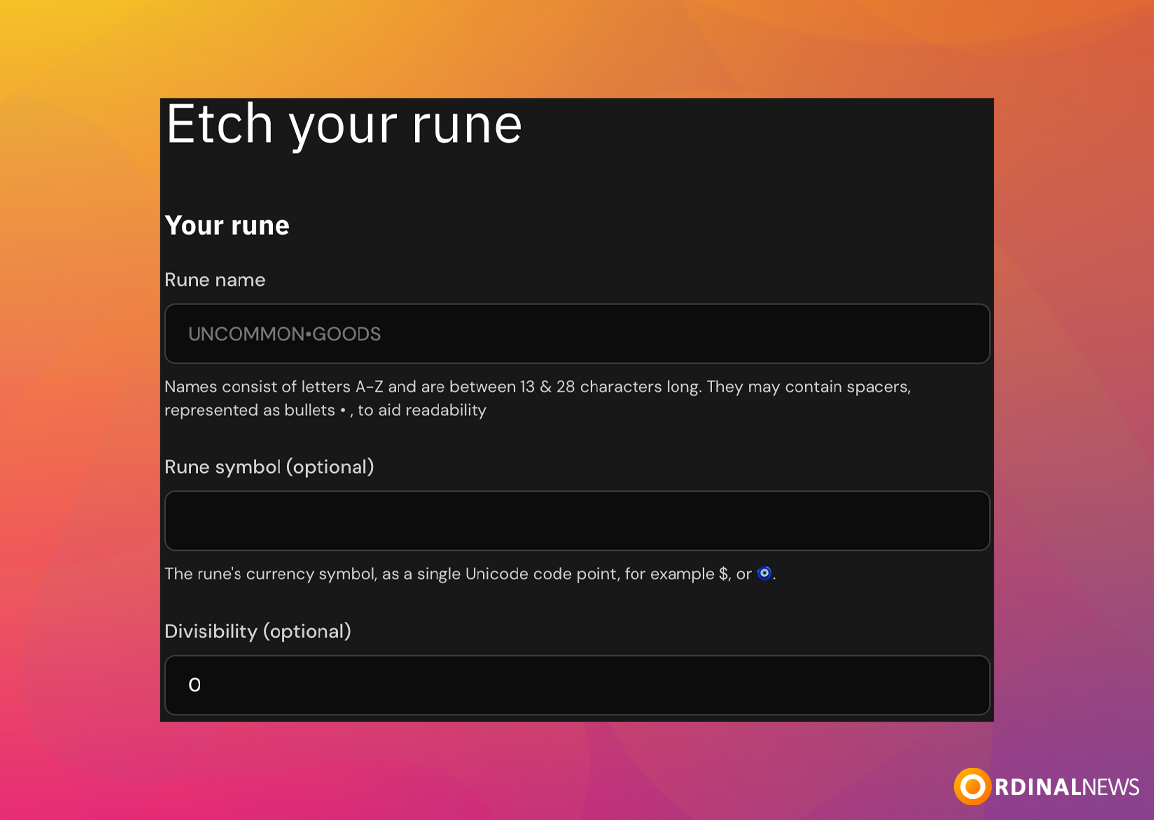
Step 4: Fill Your Rune Details
- Rune name: The name of your token.
- Rune Symbol (optional): The short ticker symbol for your token. If empty, a general symbol ¤ will be used.
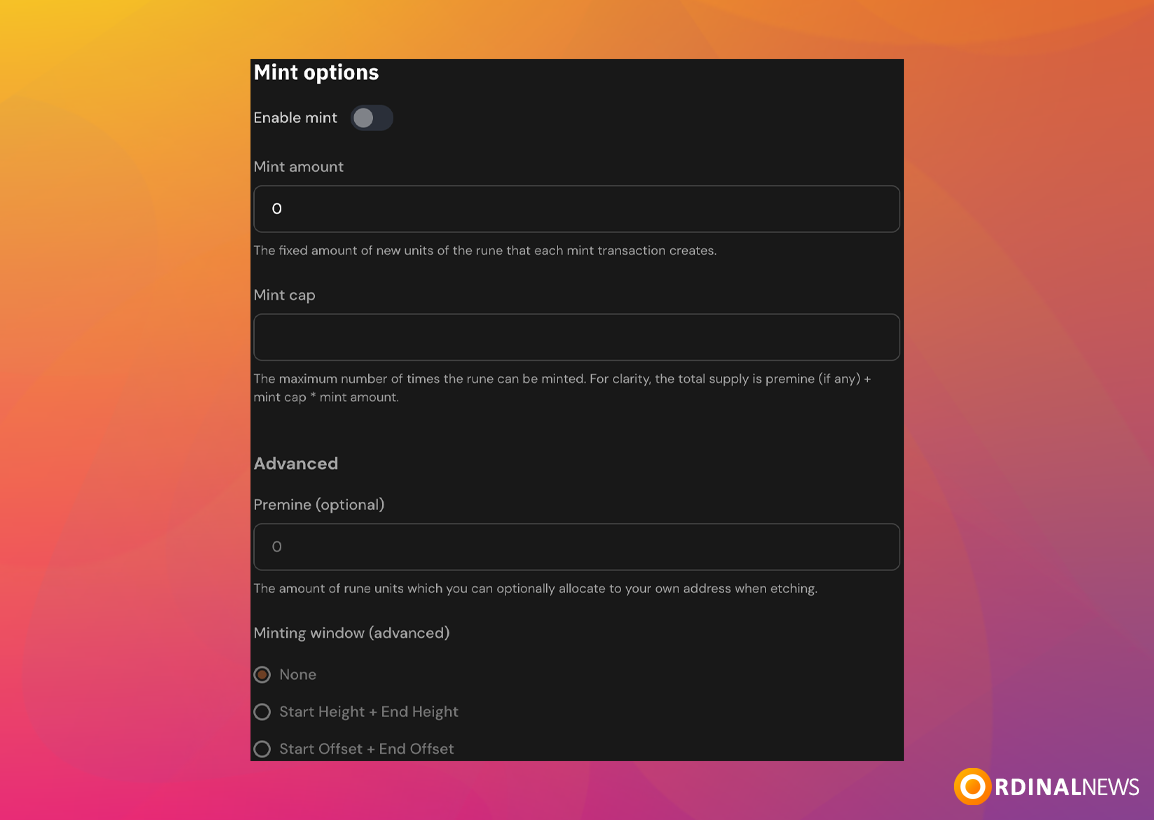
Step 5: When you scroll down a bit, you will see the “Mint options” section. You need to fill out the form there:
- Enable mint: a boolean indicating if the rune may have an open mint, allowing anyone to create and allocate units of that rune for themselves.
- Mint amount: a string representing the fixed amount of new units of the rune that each mint transaction creates
- Premine (optional): the amount of Rune units which the etcher can optionally allocate to themselves.
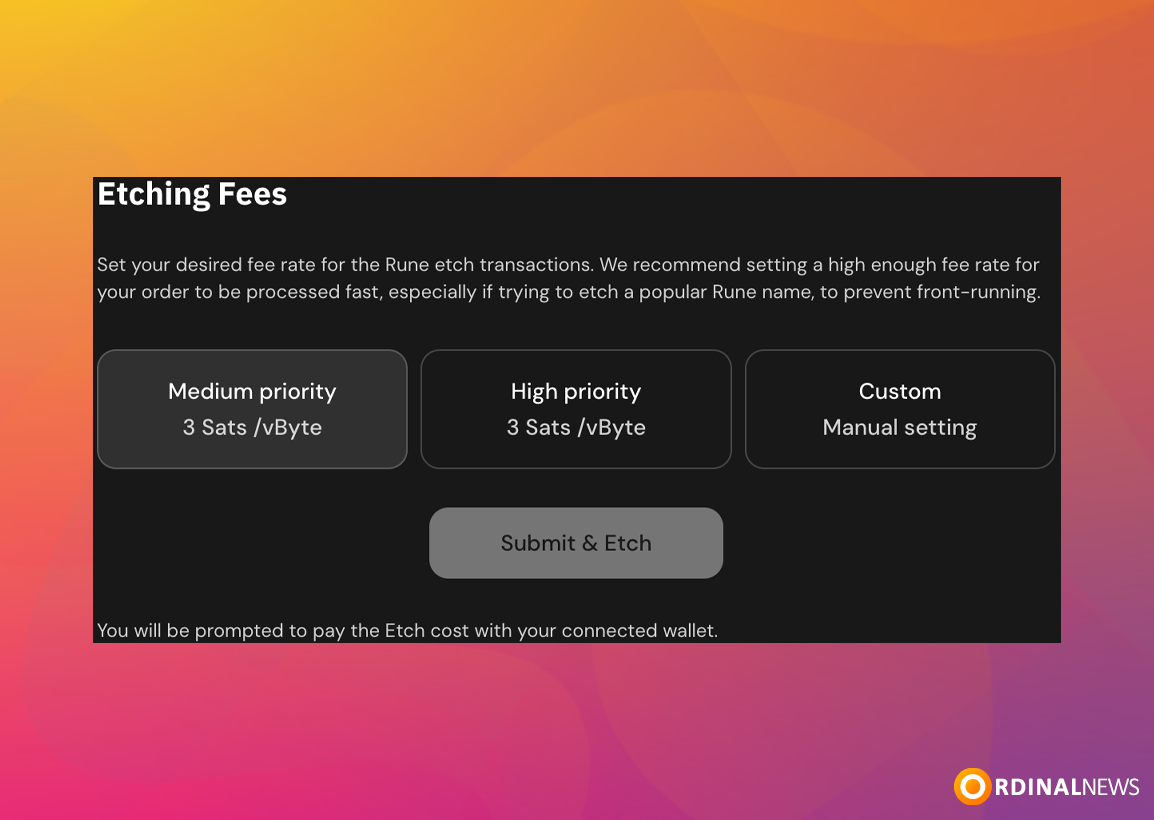
Step 6: “Etching Fees” section shows you how much it costs for Etching Runes.
You can also set the network fee here. The picture shows “Medium 3 Sat/vB” and “Custom“. Click on “Custom” to set the network fee rate. Then click “Submit & Etch”
Step 7: Submit and Etch the Transaction
After confirming your details, submit the etch request. You will need to sign the transaction and pay using Bitcoin from your payment address.
Etching a Rune may take 60-90 minutes. Once the Rune is etched, you will be able to see it in your Bitcoin Wallet.
The tutorial guides users through the steps of creating a Rune token using Xverse. It starts with filling in the token’s details, such as its name and supply cap, and then proceeds to setting fees. Once etched, users can view the new Rune token in their wallet’s collectibles section.
