How to Launch Ordinals Collection on InscribeNow
Launch Ordinals Collection with InscribeNow
This tutorial will teach you how to launch your own Ordinals Collection on the InscribeNow.
An Ordinals Launchpad is a platform designed to simplify the creation, management, and promotion of Ordinals-based collections on the Bitcoin network. Ordinals allow individual satoshis (the smallest unit of Bitcoin) to be inscribed with unique digital assets. Launchpads provide technical and operational support throughout this process.
Launch Ordinals Collection
Step 1: Visit the InscribeNow Home Page and click the “Launch” on the top of homepage.
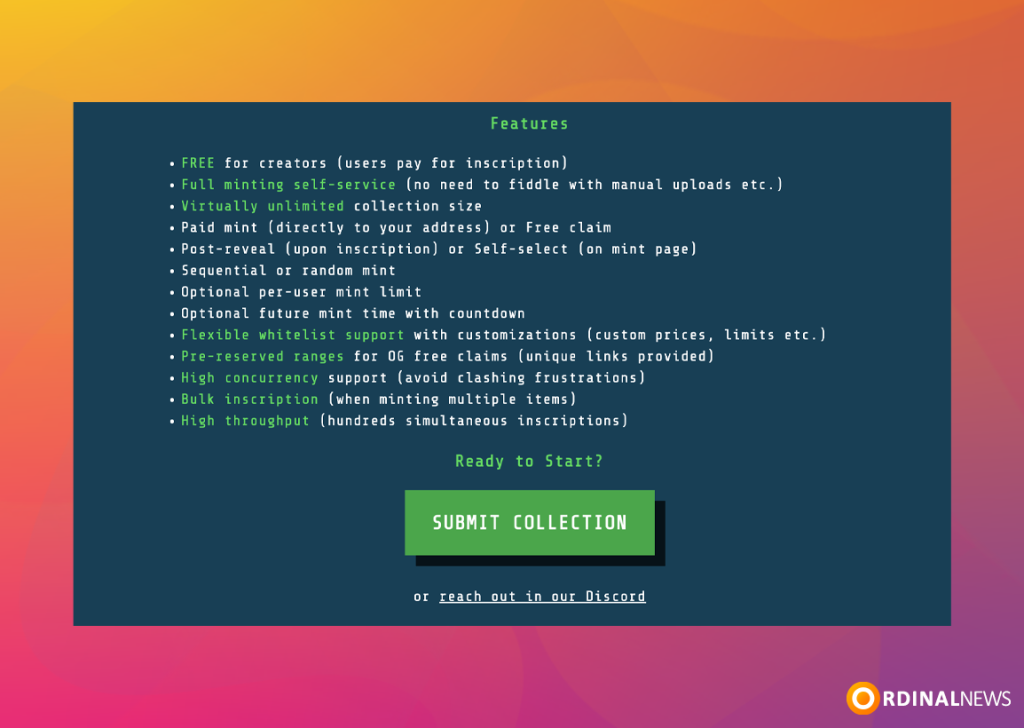
Step 2: On the page that opens, some information about “Launch” is provided, and at the bottom of the page, there is a “Features” section. We recommend reading this section thoroughly. After reading, click on the “Submit Collection” button.
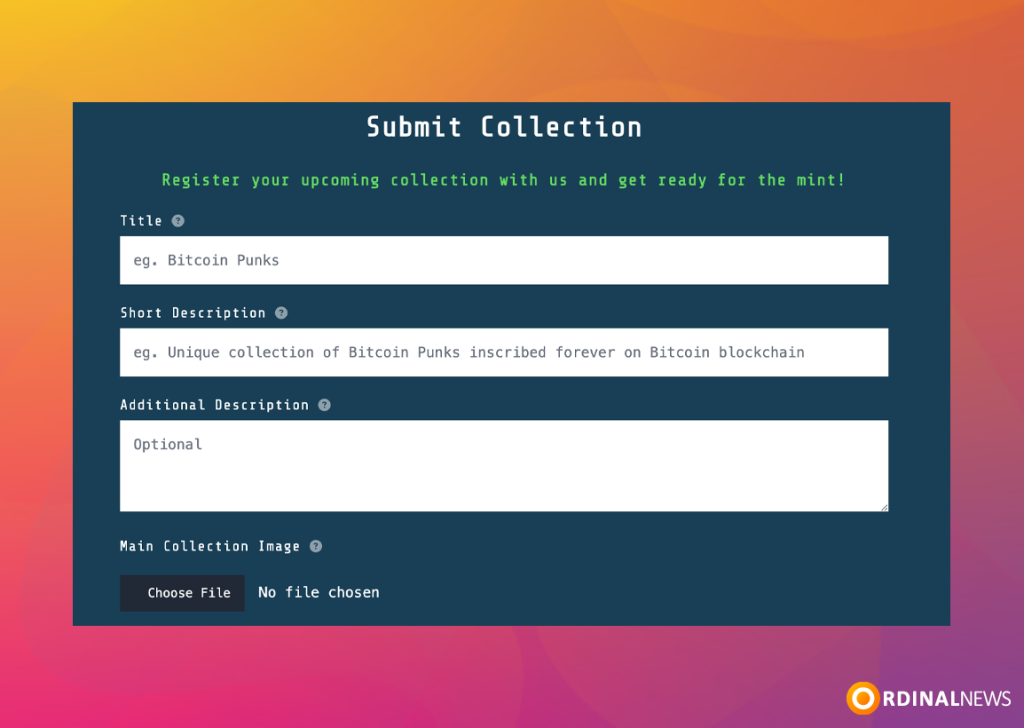
Step 3: Here, you need to fill out the form related to the Ordinals Collection you want to launch. As shown in the image, you must complete the “Title“, “Short Description“, and “Additional Description” fields. Finally, you need to upload the “Main Collection Image“, which is the main image of your collection.
- Title: Title of the Collection.
- Short Description: Shows up on mint page under the title. Keep it short.
- Additional Description: Shows up on mint page under the main preview image. Include anything relevant to minting, like WL/OG rules etc.
- Main Collection Image: This is the face of your collection. Ideally a square aspect ratio. Can be an animated GIF.
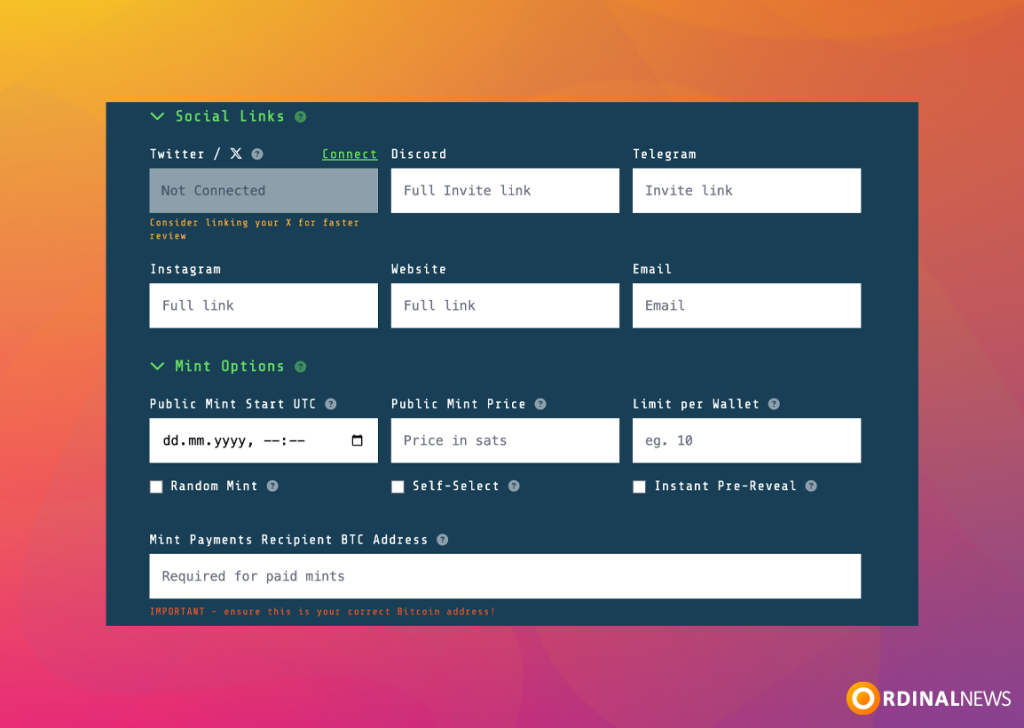
Step 4: Further down the page, there are sections for Social Links and Mint Options.
- Social Links: You need to enter the links to the social media accounts associated with your collection. If you wish to add your Twitter (now known as X) account, you can do so by clicking the “Connect” button.
- Mint Options: You need to specify Mint start date, Mint price, and Limit per Wallet. The Mint date is automatically set to the UTC time zone, and Mint price must be entered in satoshis (1 BTC = 100,000,000 sats ).
- Random Mint: If ON, items will be randomly chosen when user clicks Mint. This is generally good and makes mint smoother especially during high level of concurrent mints. The drawback is that if you decide to cut supply, it may not be easy (because items were minted from the whole range).
- Self-Select: If ON, will show all your items on the mint page in a grid and let people choose items manually (in addition to standard Mint button).
- Instant Pre-Reveal: If ON, will show item as soon as it is reserved, even if not paid yet. This is good if you want people to see what they are about to mint. However, if you have unique traits – you may want to disable that to prevent people re-rolling items in search of desired traits. If OFF, will show the item only after the deposit is acknowledged (when people cannot cancel the order anymore).
- Mint Payments Recipient BTC Address: This is where mint proceeds will go from each paid mint order. Can be any BTC wallet. MAKE SURE YOU DOUBLE CHECK THIS!
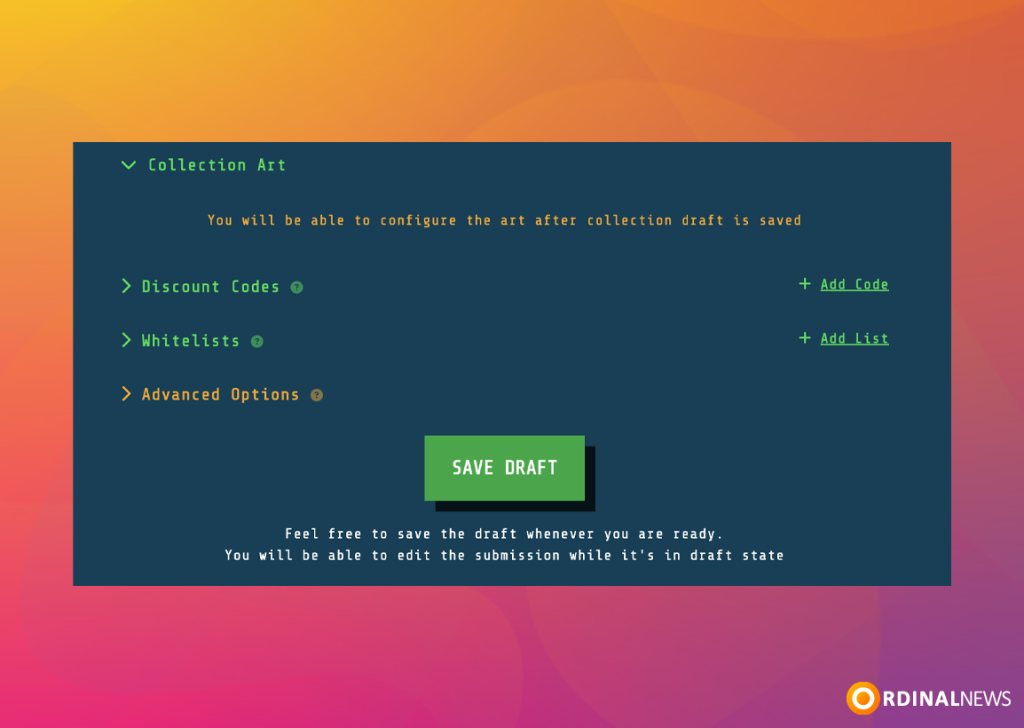
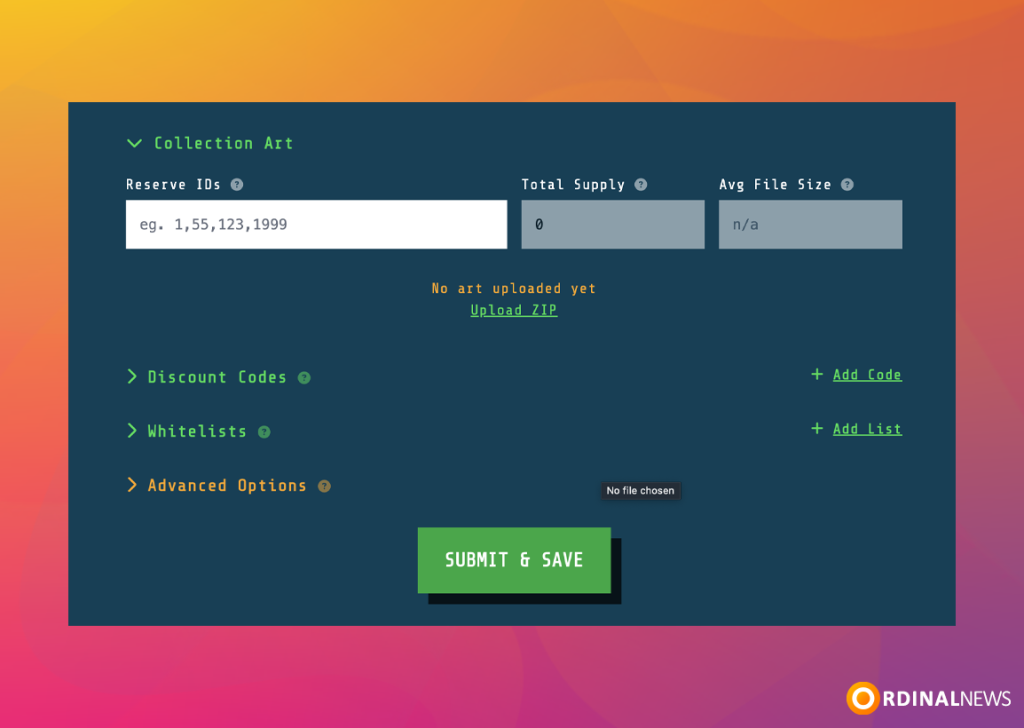
Step 5: In this section, you can configure the “Discount Codes“, “Whitelists“, and “Advanced Options” settings. You cannot complete the “Collection Art” step at this moment. After filling out all the information and clicking the “Save Draft” button, you can proceed with this step.
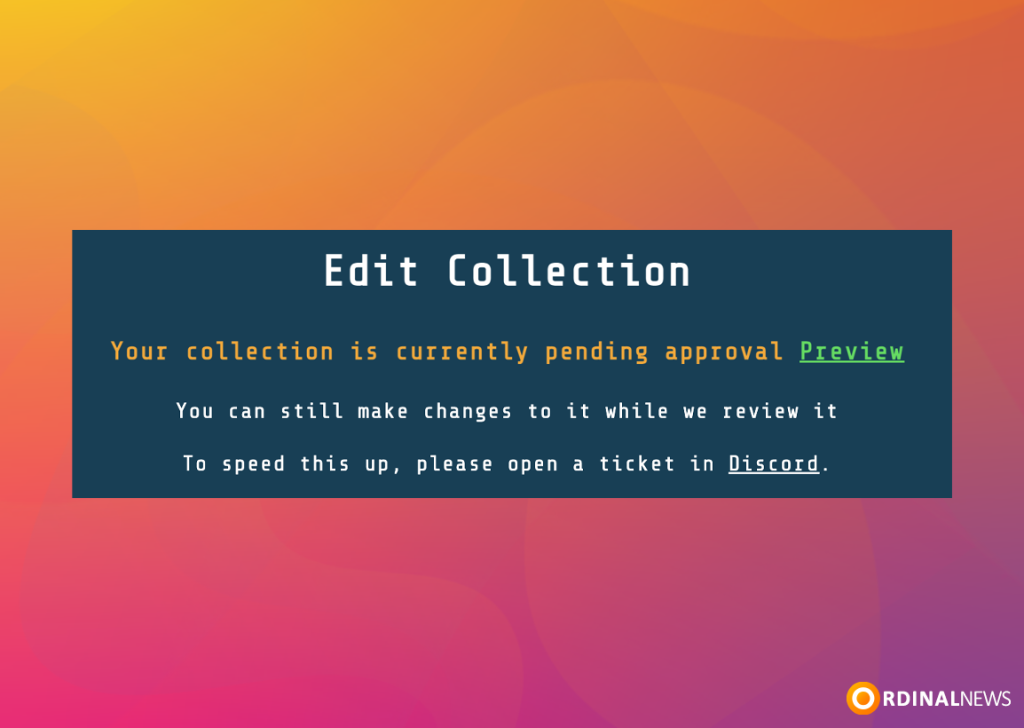
Step 6: After clicking the “Save Draft” button, the page will refresh. Then, click on the “Preview“.
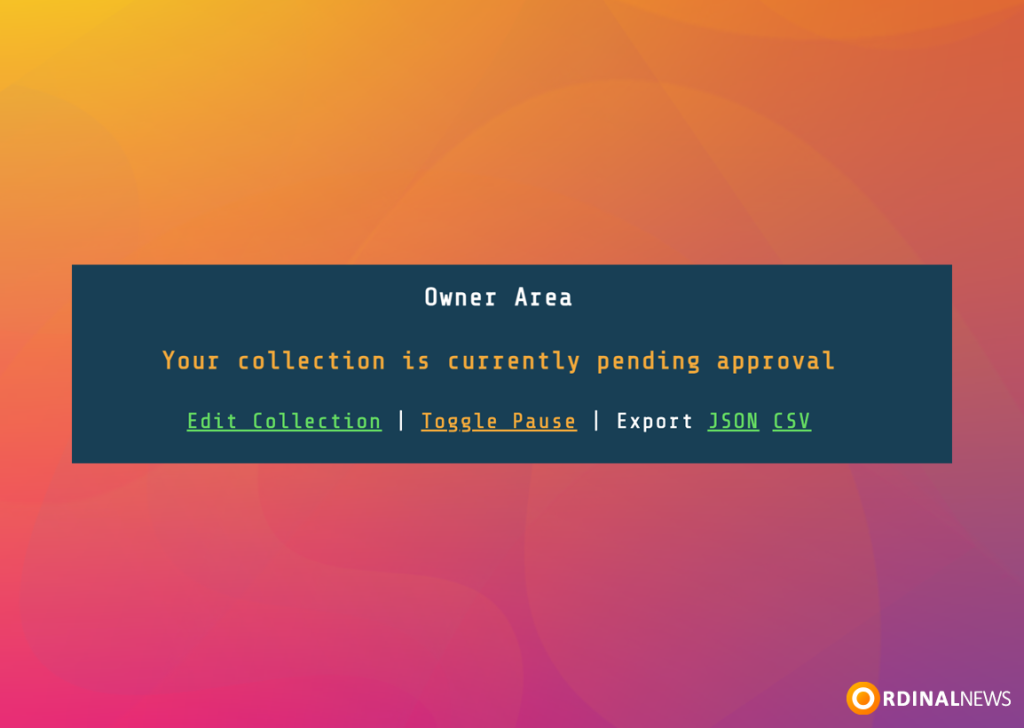
Step 7: On the page that opens, you will see the collection you have filled out the details for. At the bottom of the page, there is an “Owner Area” section. To upload images for your collection, click on the “Edit Collection” button.
Step 8: Scroll to the bottom of the page, and in the “Collection Art” section, you can now upload images for your collection. To do this, click on the “Upload ZIP“.
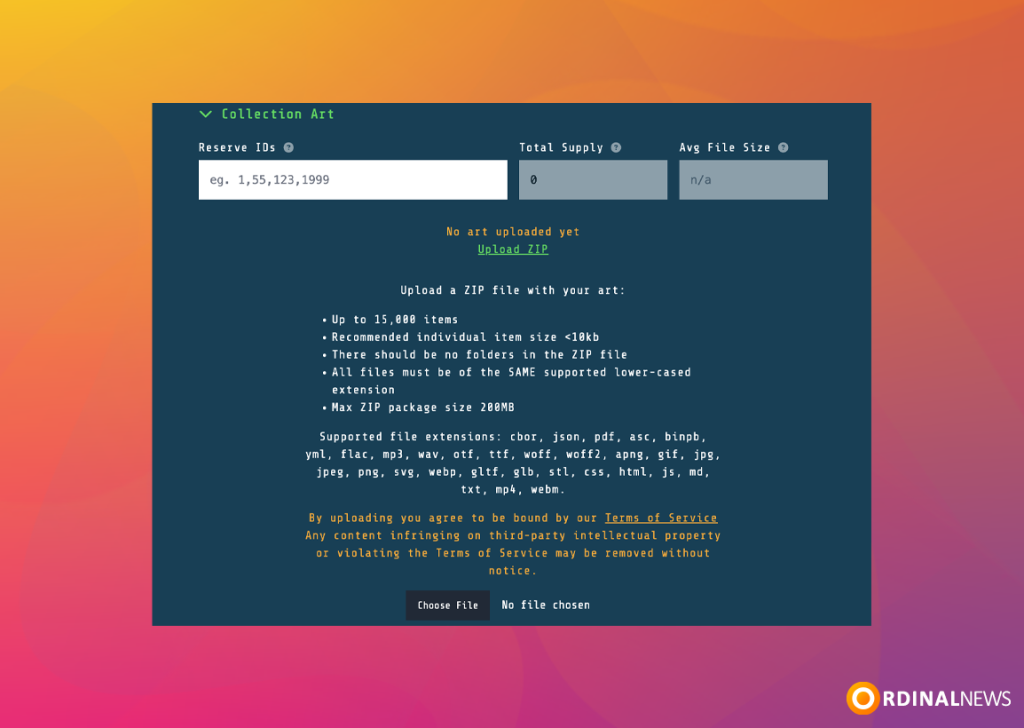
Step 9: After clicking on “Upload ZIP“, you will see specific requirements for the ZIP file you need to upload. We recommend reading this section thoroughly. Once you have uploaded the ZIP file, click the “Submit & Save” button.
Step 10: After completing these steps, you will need to wait for a while as moderators perform the necessary checks. Once the checks are completed and approval is granted, your collection will appear on the website’s homepage. To expedite the process, you can open a ticket on Discord.
Launching an Ordinals Collection on InscribeNow is a structured and straightforward process. By following these steps, you can successfully create, manage, and share your unique collection on the Bitcoin network. The platform provides all the tools needed to customize your collection, set minting options, and connect with your audience. With its user-friendly interface, InscribeNow makes it easy to bring your vision to life.
