How to Mint Runes on OrdinalsBot
Mint Runes with OrdinalsBot
Minting is the actual creation of the runes tokens based on the specifications set during the etching.
In this tutorial, you will learn how to mint runes tokens so you can start participating in Bitcoin’s new token economy.
Mint Runes
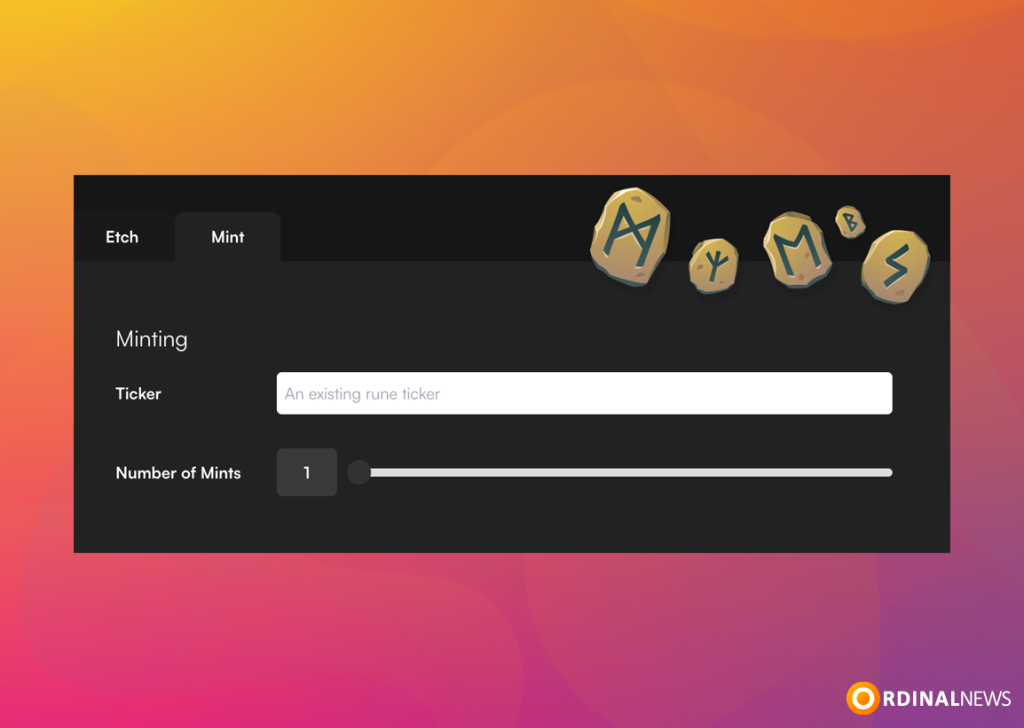
Step 1: Visit the OrdinalsBot Home Page and click the “Runes” on the top of homepage and click “Mint“. Then connect wallet.
Step 2: In the field labeled “Ticker“, you need to enter the name of the Rune token you want to mint.
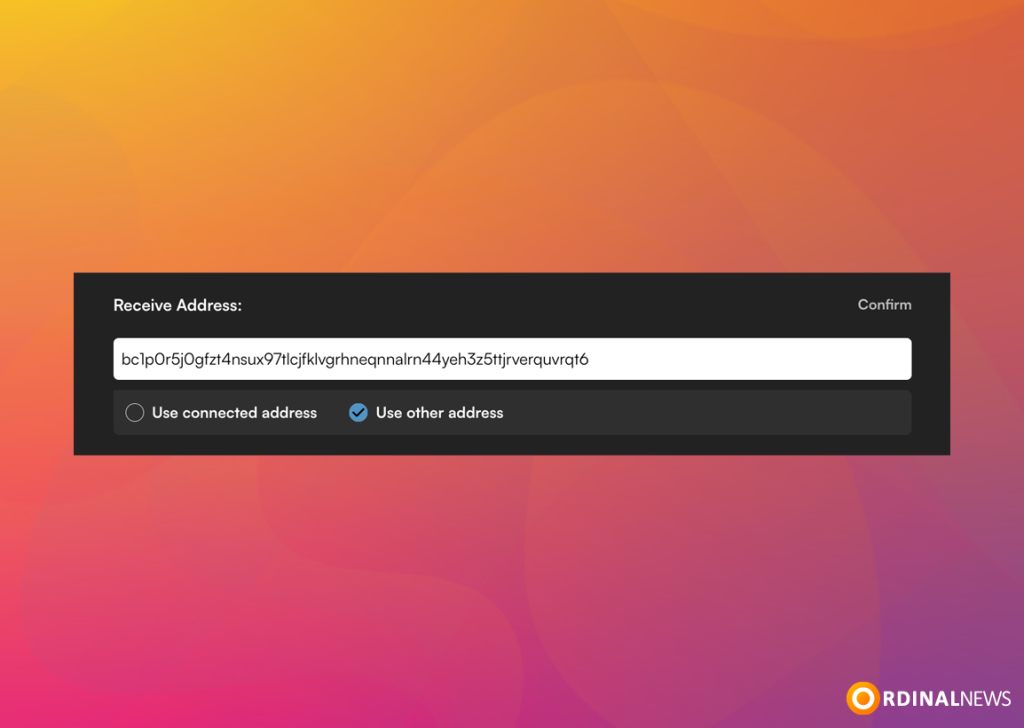
Step 3: You can enter the wallet where you want to receive the Rune token here, or you can directly select your connected wallet.
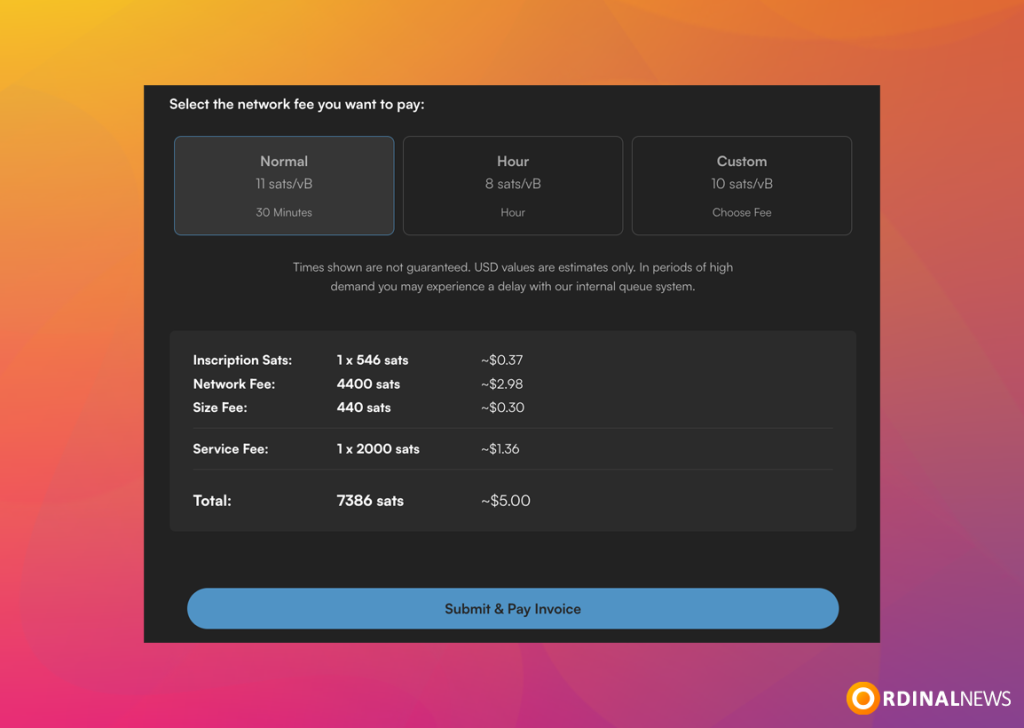
Step 4: This shows you how much it costs for Minting Runes.
You can also set the network fee here. The picture shows “Normal 11 sats/vB” and “Custom“. Click on “Custom” to set the network fee rate. Then click “Submit & Pay Invoice“.
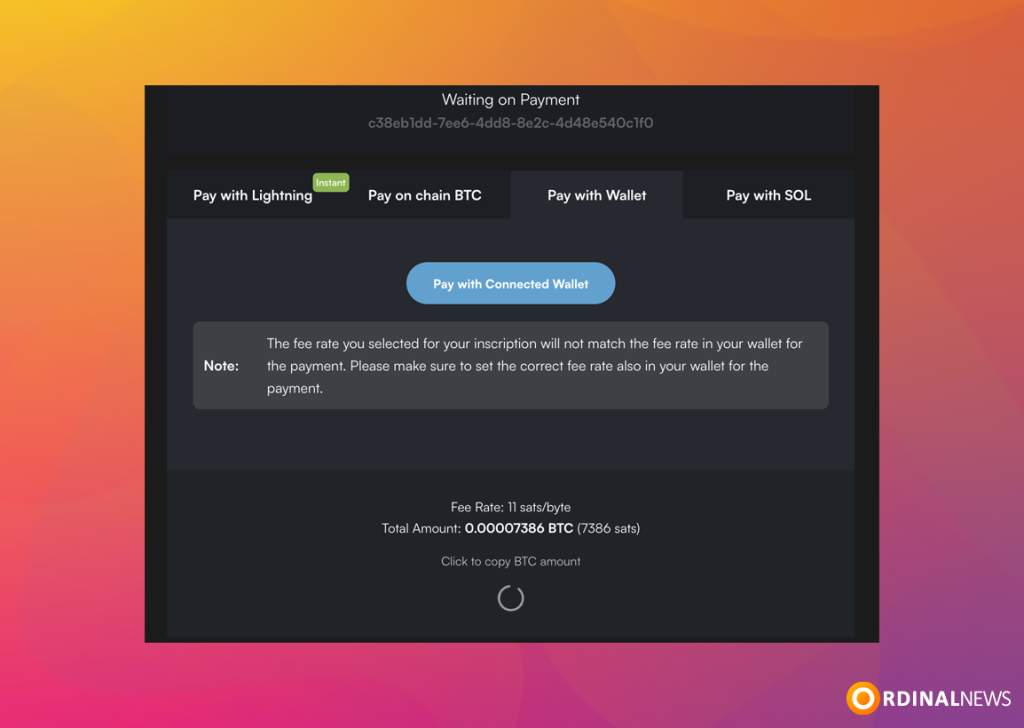
Step 5: Click “Pay with Connected Wallet”
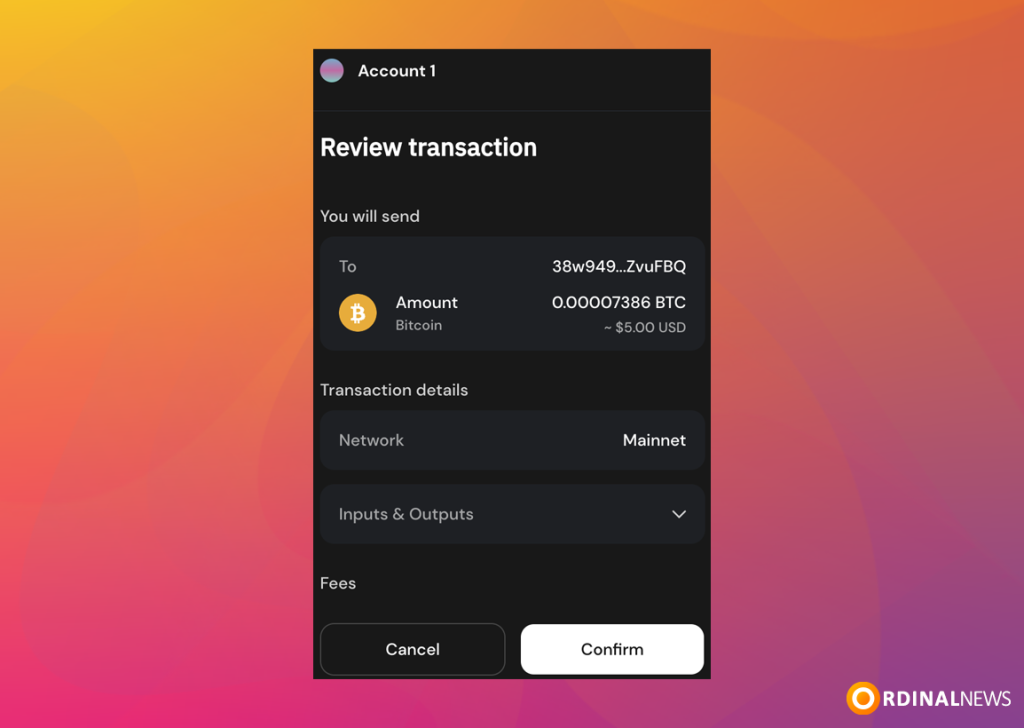
Step 6: Confirm Transaction
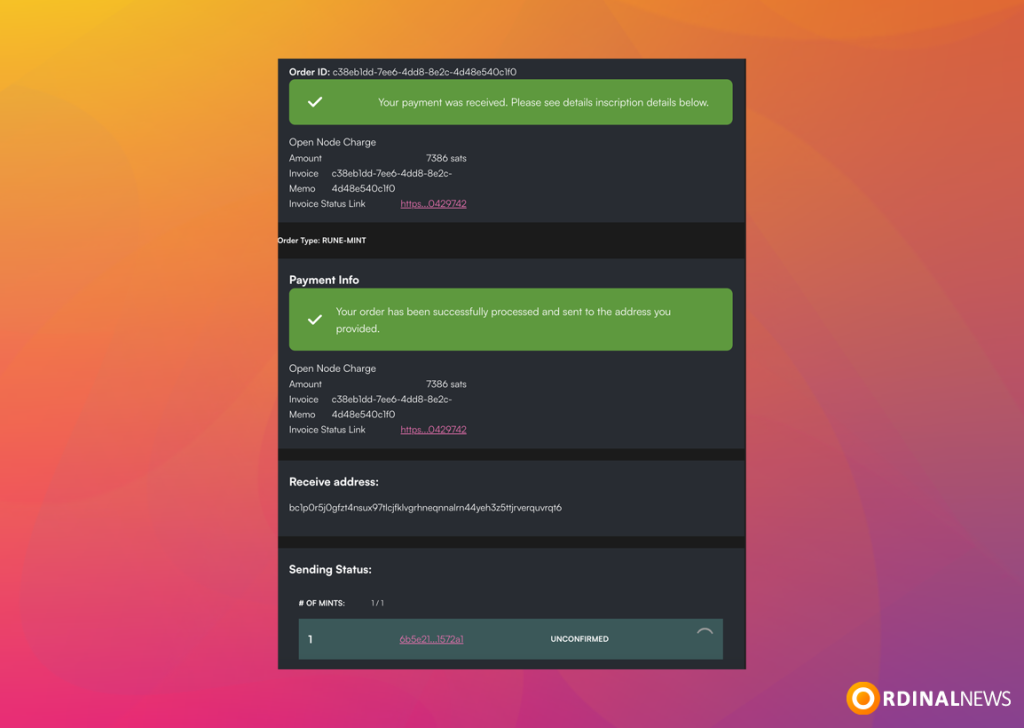
Step 7: You successfully Mint Rune. Wait for the transaction confirmation. Press “6b5e21…1572a1 (Transaction ID)” to view your transaction confirmation.
NOTE: Transcation confirmation takes a minimum of 10-20 minutes.
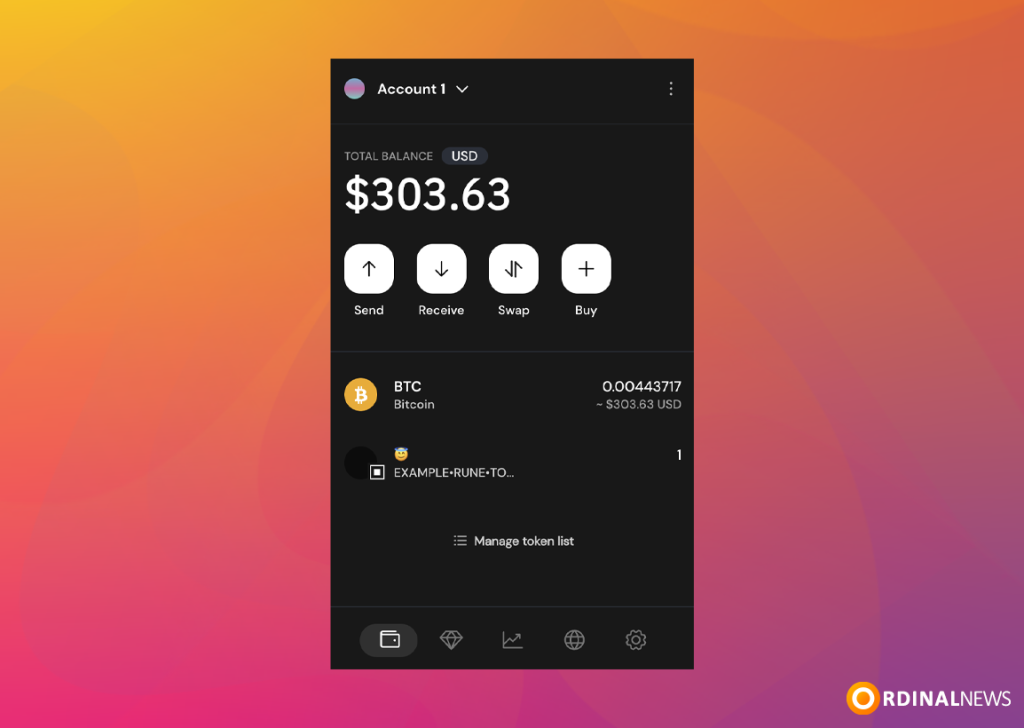
Step 8: Once your transaction is confirmed, you can view the Rune token you minted in the “Main” section of your wallet.
NOTE: The Rune token we are minting is intended solely for testing and educational purposes. This should not be considered as investment advice. Please keep in mind that this is part of a learning process, and any interaction with the token should be treated as such, with no expectations of financial gain or returns.
Minting Rune tokens with OrdinalsBot is a seamless and straightforward process. By following these steps, you’ll be able to mint Rune tokens. Users can search for and select the desired Rune token, configure the transaction details, and complete the minting process. Once minted, the new Rune tokens will appear in the wallet’s “Main” section. This guide is for educational purposes only and not investment advice.
